This post contains affiliate links. If you buy through them, we may earn a small commission at no extra cost to you. Read our disclosure.
A sharp knife is safer and faster than a dull one, and keeping it that way takes far less effort than most people think. In professional kitchens we don’t wait for a knife to go dull. We keep it sharp with a simple routine. Here it is, with the independent test results that back it up.
Honing and sharpening are not the same thing
This is the most common confusion in home kitchens.
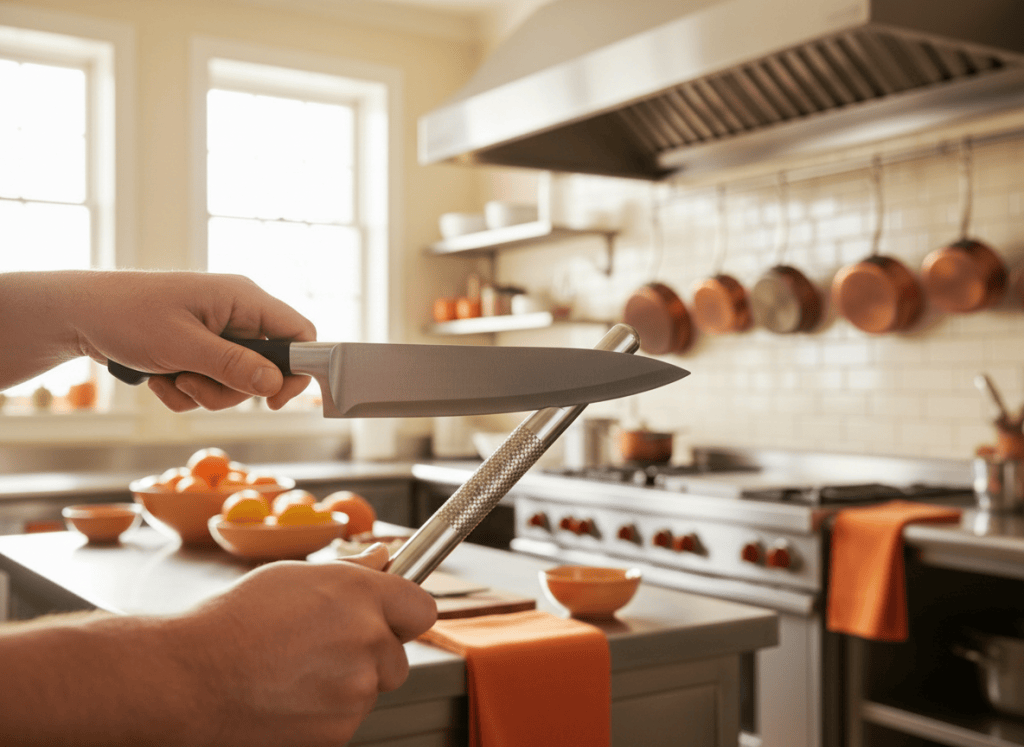
- Honing (with a steel or rod) realigns the edge. Everyday cutting bends the very edge of the blade microscopically, and honing straightens it back (America’s Test Kitchen).
- Sharpening (with a stone, a sharpener or a professional service) grinds away metal to create a new edge once the old one is truly worn.
One nuance: America’s Test Kitchen found that even smooth honing rods remove a little metal, leaving gray streaks on their white ceramic rods (America’s Test Kitchen). So honing also polishes the edge slightly, but it can’t replace real sharpening forever.
My routine
Chef’s note: At work I hone my knife on a steel before every single use. Real sharpening on a whetstone happens about once a month, and some knives go out to a professional sharpening service. For home cooks, my honest advice is simple: hone often, and when the knife is truly dull, take it to a professional instead of experimenting on it.
Step 1: Hone before you cook
America’s Test Kitchen’s technique (source):
- Hold the steel vertically with its tip resting on the counter (on a towel so it doesn’t slip).
- Place the heel of the knife at the top of the steel at about a 15-degree angle.
- Sweep the blade down and toward you, so the whole edge from heel to tip touches the steel.
- Use very light pressure. A harsh rasping sound means you’re pressing too hard.
- Do 4 to 5 strokes per side, alternating sides, then wipe the blade clean.
Which honing rod to buy
- Best value: Idahone Fine Ceramic Sharpening Rod, 12″. America’s Test Kitchen’s Best Buy: gentle on knives while effectively restoring the edge, and long enough for good control (America’s Test Kitchen).
- Top pick: Bob Kramer Double-Cut Sharpening Steel. America’s Test Kitchen’s winner, one of the longest and thickest rods they tested, with a lightly ridged and a smooth surface (America’s Test Kitchen).
Step 2: Sharpen when honing stops working
If the knife still slides off a tomato skin after honing, the edge is worn and needs real sharpening. You have three options.
Option A: A professional sharpening service (my recommendation)
Chef’s note: This is what I’d tell a friend. A good sharpener restores the edge properly, without the risk of damaging the blade while you learn. Keep honing before each use, and hand the knife over once honing no longer brings the edge back.
Option B: A whetstone (if you want to learn the craft)
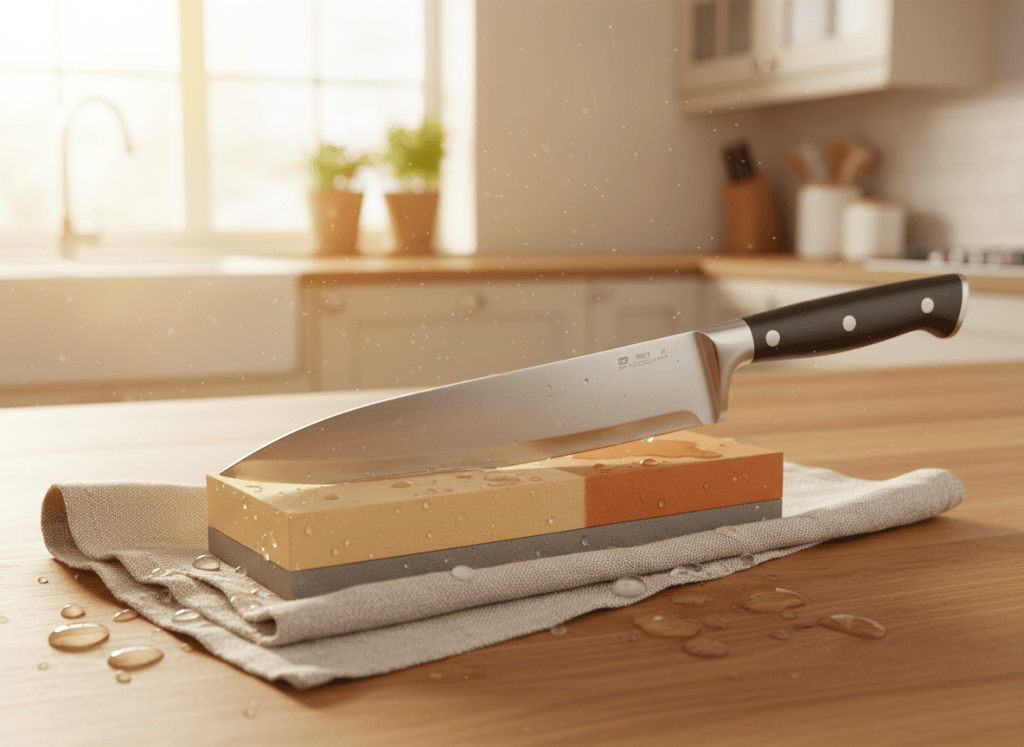
A whetstone gives the best edge, but it takes practice. Stones usually have a coarse side for reshaping the edge and a fine side for polishing it. America’s Test Kitchen suggests about 15 degrees for Asian-style knives and about 20 degrees for Western-style knives, and describes finding the angle by starting at 90 degrees and halving it (America’s Test Kitchen). Check your knife maker’s recommended angle before you start.
Option C: A manual pull-through sharpener (quick and easy)
If there’s no sharpening service near you and you don’t want to learn a stone, a pull-through sharpener is the easiest route. In America’s Test Kitchen’s testing:
- Chef’sChoice Pronto Diamond Hone was the winner for 15-degree knives, quickly putting a keen edge on the blade (America’s Test Kitchen).
- AccuSharp Gourmet 15 Degree was the Best Buy: smaller, faster and cheaper, but it left a rougher edge that benefits from a few strokes on a honing rod afterwards (America’s Test Kitchen).
Keep in mind that every pull-through sharpener removes metal to reshape the edge, and even the winner left slight scratches on the blade sides in testing (America’s Test Kitchen). Match the sharpener’s angle to your knife.
Step 3: Protect the edge between sharpenings
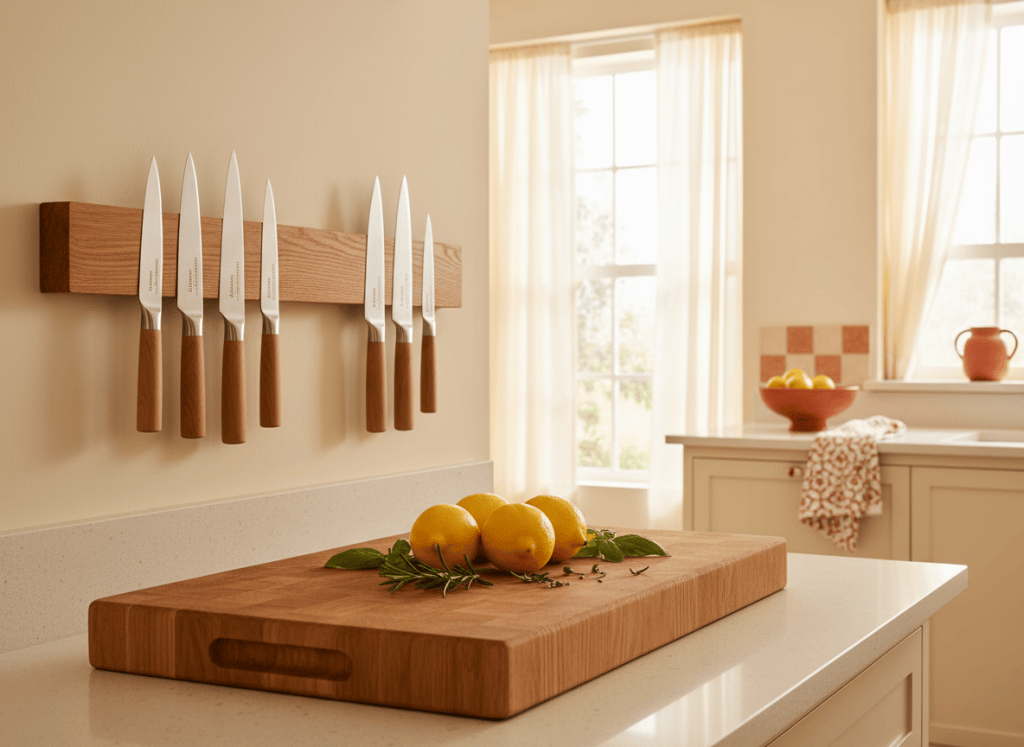
- Cut on wood or plastic boards, never glass, stone or ceramic plates.
- Hand-wash and dry the knife straight away; keep it out of the dishwasher.
- Store it in a block, on a magnetic strip or in a blade guard, not loose in a drawer.
- Scrape food off the board with the spine of the knife, not the edge.
Looking for a knife worth looking after? See our guide to the best chef’s knives under $100.
The bottom line
Buy a good honing rod and use it every time you cook. When honing no longer brings the edge back, have the knife professionally sharpened, or learn the whetstone if you enjoy the craft. That’s the whole routine, and it’s the same one that keeps knives working in a busy professional kitchen.


Leave a comment